Follow Me On Social Media!

Pizookie Paradise: The Ultimate Indulgent Cookie Treat
Introduction to Pizookie
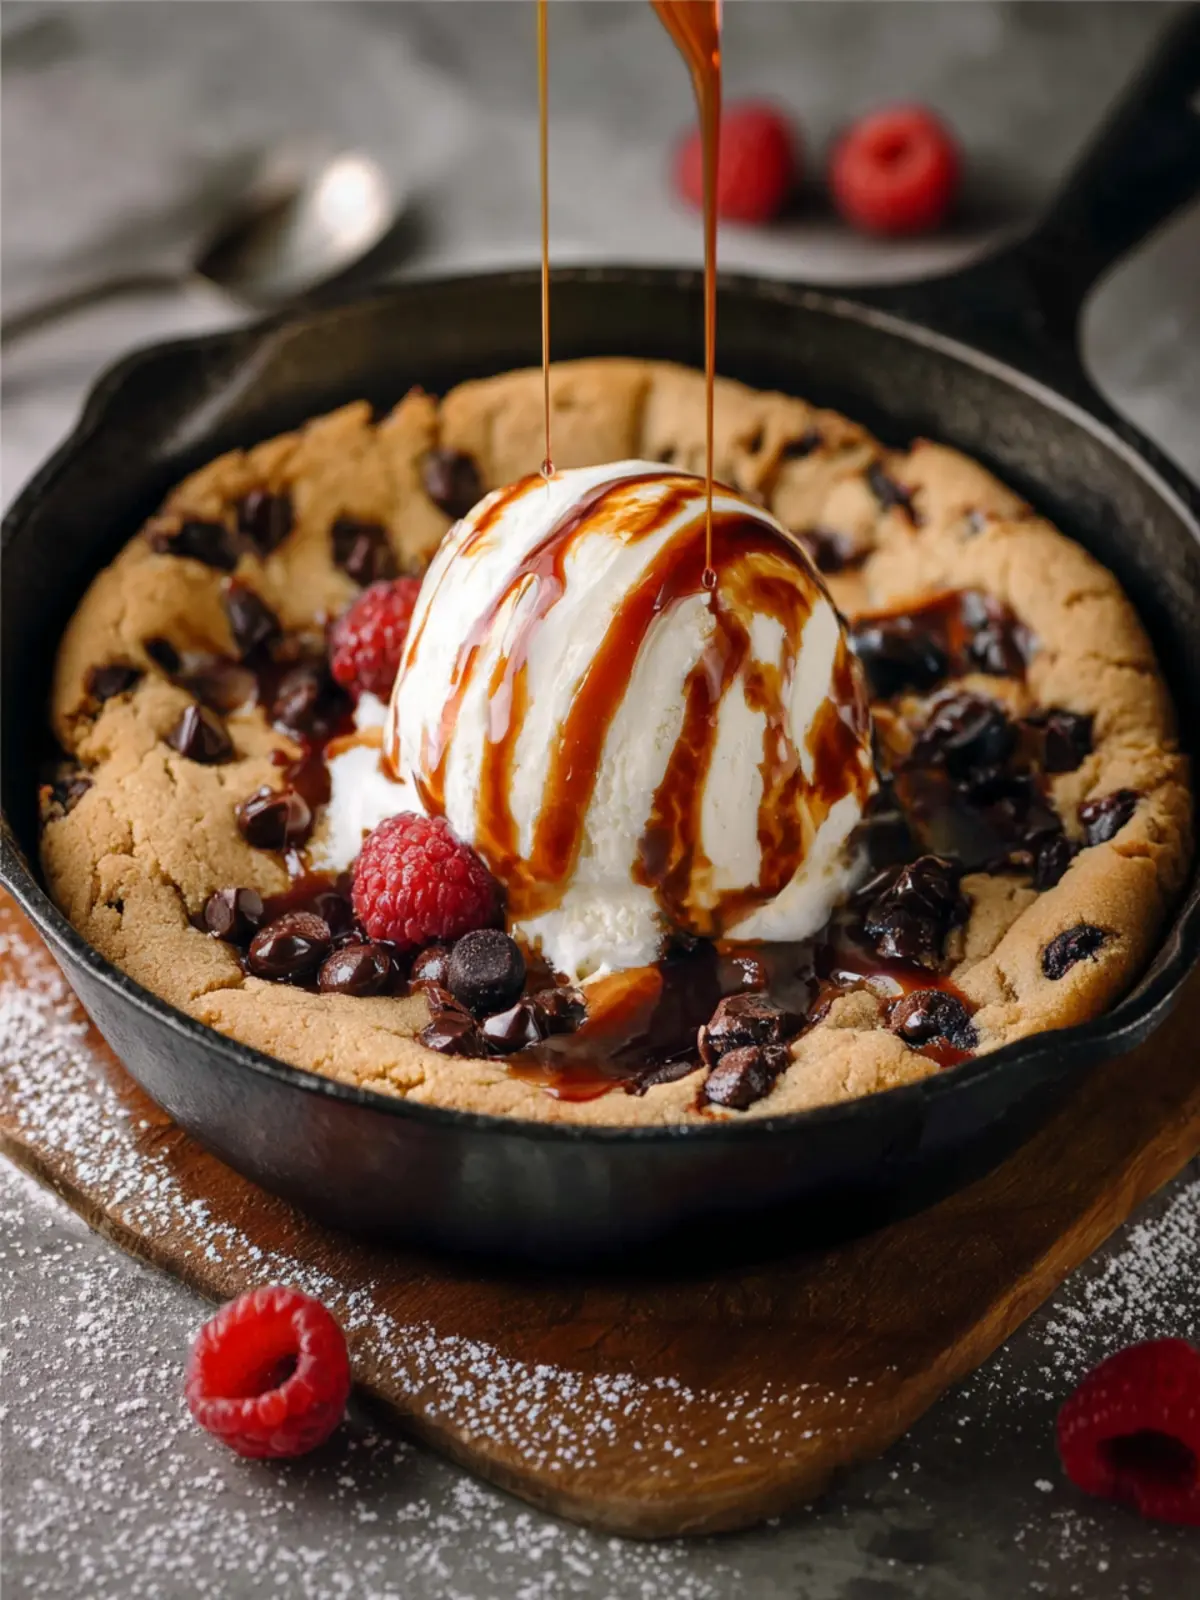
Imagine a warm, gooey cookie straight from the oven, served in its own little skillet and topped with a mountain of melting ice cream. That’s the magic of a pizookie. This delightful dessert combines the comforting familiarity of a cookie with the indulgence of a sundae, making it a true crowd-pleaser at gatherings of all kinds, from cozy evenings with friends to festive celebrations.
What sets a pizookie apart? It’s all about that perfect balance of textures—a chewy cookie base that contrasts beautifully with the creamy, cold ice cream. The way the heat of the cookie melds with the ice cream creates an irresistible experience that no one can resist. According to dessert enthusiasts, the pizookie is not just a treat; it’s a dessert adventure that piques curiosity and excites taste buds, making it an ideal choice for sharing.
You might be wondering, “How did this delightful dessert come to be?” The pizookie, a portmanteau for “pizza” and “cookie,” originated in the early 1990s and has grown in popularity ever since. It was designed to be eaten straight from the serving dish—no plates, forks, or knives necessary. This playful approach invites everyone to dig in and enjoy each bite together.
Furthermore, the versatility of the pizookie makes it a favorite for many. Whether you prefer classic chocolate chip, seasonal flavors like pumpkin spice, or even adventurous concoctions like peanut butter cup, the possibilities are endless. You can easily customize the cookie base and toppings to suit your preferences, ensuring that your pizookie will be a hit no matter the occasion.
Intrigued? Let’s dive into crafting this delectable dessert in the following sections and explore how to create your very own delicious pizookie at home. Trust me; your taste buds will thank you!
Key Ingredients for Pizookie
Creating the perfect pizookie relies on a handful of delectable ingredients that blend together to create that warm, gooey goodness we all love.
Butter: The star of your pizookie is undeniably butter, giving the dessert a rich and creamy texture. I recommend using unsalted butter for better control over the sweetness and saltiness in your dish.
Brown Sugar: This ingredient adds a deep, caramel-like flavor, enhancing the overall taste of your pizookie. Combine it with granulated sugar for the perfect balance of sweetness.
Flour: I use all-purpose flour as the base for the dough, providing structure without making it overly dense. If you need a gluten-free option, a 1:1 gluten-free flour blend works wonderfully.
Chocolate Chips: Go for semisweet or milk chocolate chips, depending on your preference. They melt beautifully, creating pockets of rich chocolate throughout the dough.
Eggs: Just one large egg adds moisture and helps bind everything together, resulting in a chewy yet soft pizookie.
With these ingredients, you’re well on your way to crafting a truly indulgent treat that’s perfect for sharing (or not!).
Why You’ll Love This Pizookie
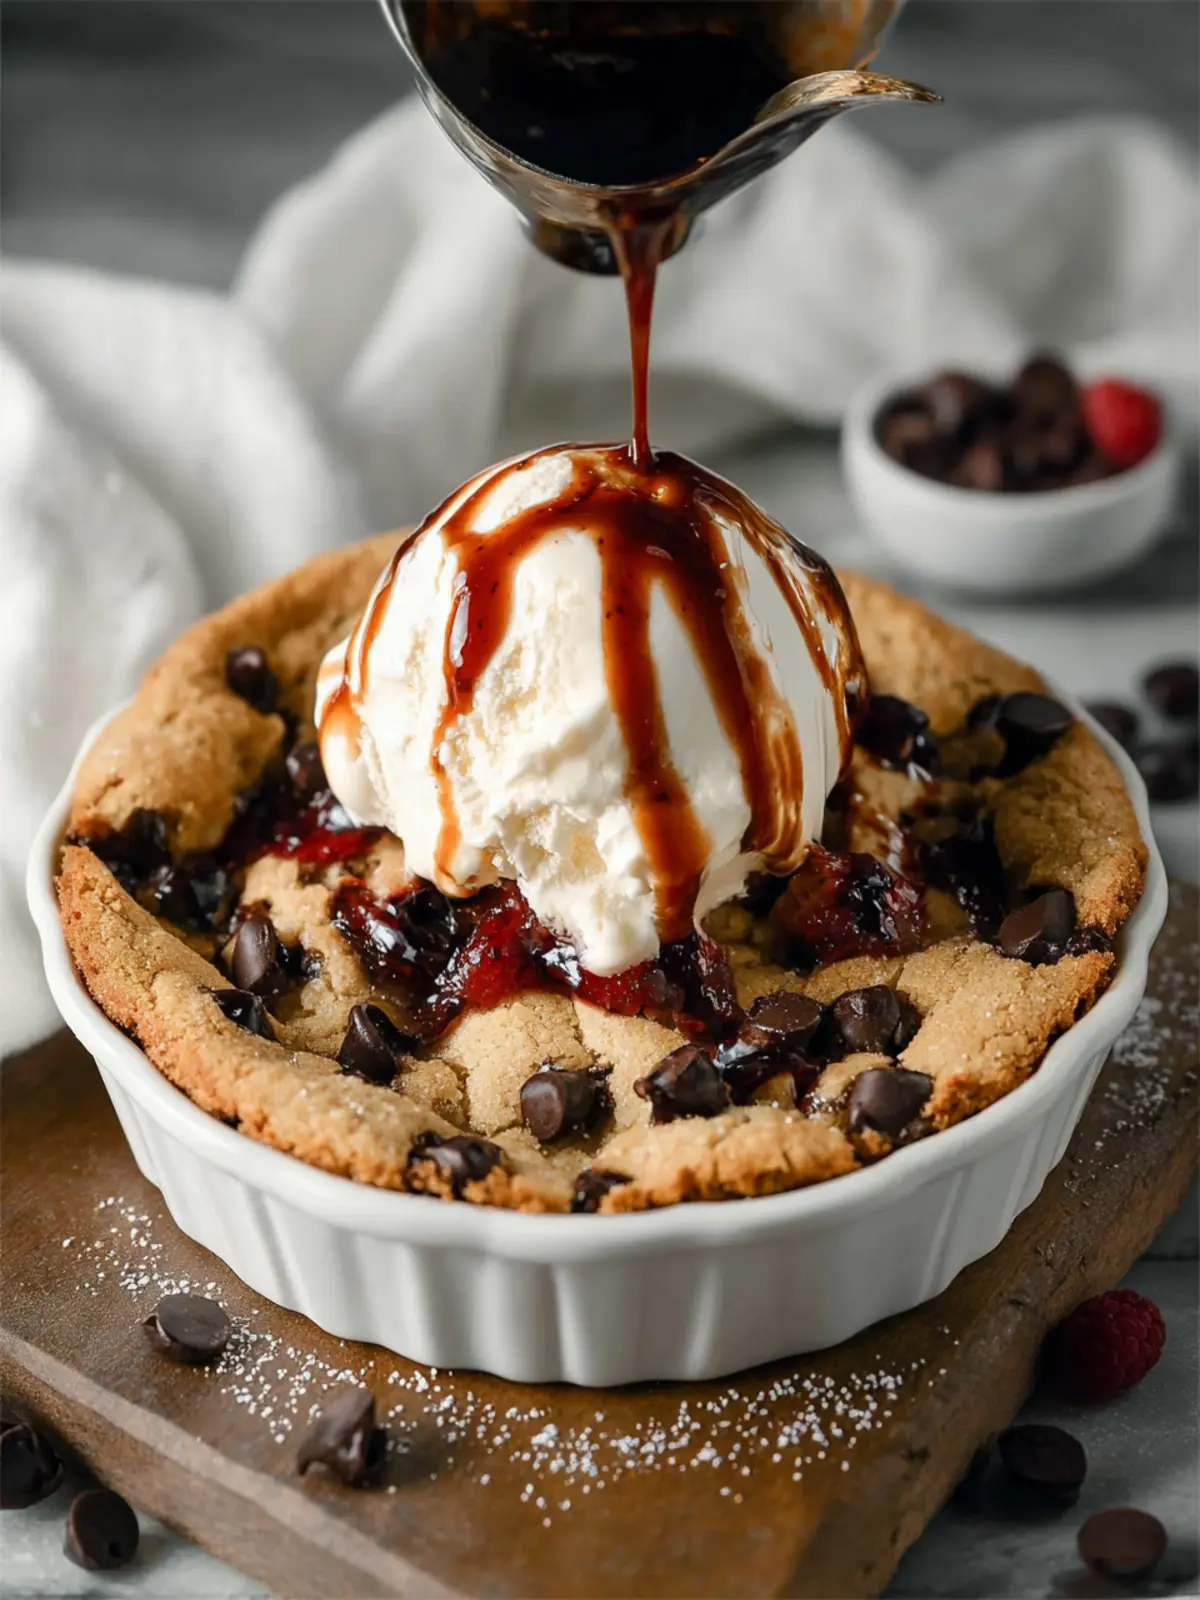
Every bite of this delectable pizookie tells a story that resonates with warmth and comfort, making it the ultimate dessert for gatherings or a cozy night in. Imagine the scene: friends gathering around, eager forks in hand, diving into a warm, gooey treat that’s perfectly baked in a skillet.
Perfect for Shareable Moments
The charm of a pizookie lies not only in its deliciousness but also in its ability to create memorable experiences. Picture a chilly evening where everyone indulges in a freshly baked cookie, topped with a scoop of creamy ice cream. There’s something uniquely inviting about sharing this dessert straight from the skillet—it’s not just food; it’s an experience that fosters connection.
When you gather your friends to enjoy this dessert, you’re not just sharing a sweet treat; you’re creating lasting memories. The laughter around the table, the clinking of spoons, and the satisfying ooze of melted chocolate mingled with ice cream make for moments you’ll reminisce about long after the last bite.
So, when you whip up this delightful pizookie, you’re not merely baking—you’re orchestrating an occasion filled with joy, laughter, and that warm, homey feeling everyone craves. Who wouldn’t want to be part of that?
Variations of Pizookie
Creating a pizookie opens up a delightful world of flavor possibilities that can suit any craving. The beauty lies not just in its gooey cookie base but also in the myriad of flavors and toppings you can explore.
Explore different flavors and toppings
The classic chocolate chip pizookie is an all-time favorite, but why stop there? Consider these exciting variations:
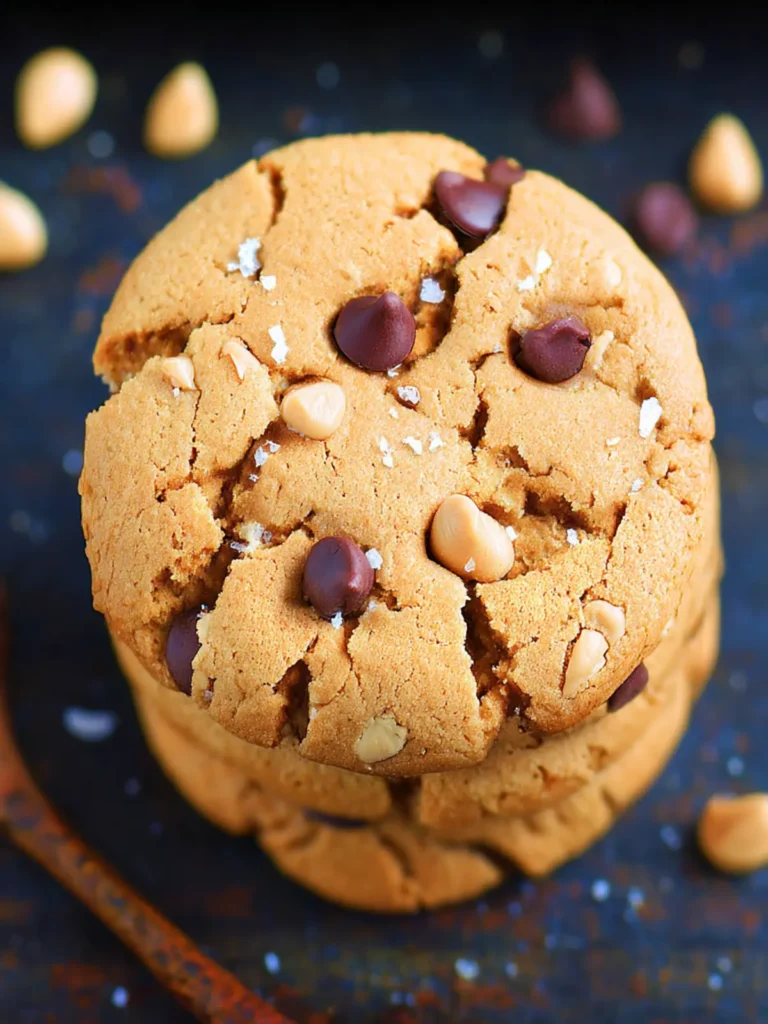
- Peanut Butter Chocolate Chip: Swap out some of the butter in your dough for creamy peanut butter. The combination of rich chocolate and nutty goodness creates a heavenly treat.
- Oreo® Cookie Pizookie: Crush a few Oreo cookies into the dough for added texture and flavor. Top it off with a scoop of vanilla ice cream and a drizzle of chocolate syrup for a decadent experience.
- S’mores Pizookie: Introduce mini marshmallows and crushed graham crackers to your cookie base, then enjoy the flavors of a campfire treat in every bite. A chocolate swirl on top enhances the s’mores experience.
- Fruit and Nut Delight: Mix in dried fruits like cranberries or apricots along with toasted nuts. For a refreshing twist, a scoop of lemon or raspberry sorbet makes for a delightful contrast.
- Salted Caramel: Before baking, swirl in some homemade or store-bought salted caramel. Finish with a sprinkle of sea salt once it’s out of the oven for that sweet-and-savory finish.
With these variations, you can tailor your pizookie to suit any occasion or preference. Enjoy the wonderful journey through these flavors!
Cooking Tips and Notes for Pizookie
The delightful experience of savoring a pizookie, that warm, gooey hybrid of cookie and pizza, is something every dessert lover should indulge in. To make sure your pizookie turns out perfectly every time, I’ve gathered some practical tips and personal insights to elevate your baking game.
Achieve the ideal texture
Creating the perfect pizookie hinges on achieving that coveted chewy center with crispy edges. Here’s how:
-
Use Room Temperature Ingredients: Allow your butter and eggs to sit at room temperature for about 30 minutes before mixing. This helps to create a creamier batter, ensuring your pizookie bakes evenly.
-
Don’t Overmix: Once you add the flour, mix just until combined. Overmixing can lead to a dense, tough texture—think chewy, not cake-like!
-
Monitor Baking Time: Aim for about 15-20 minutes in the oven. Every oven operates a bit differently, so keep an eye on your pizookie. It should be golden brown around the edges but still soft in the center.
-
Choose Quality Chocolate: For the ultimate flavor explosion, opt for high-quality chocolate chips. Their richness will shine through in every decadent bite.
By implementing these tips, you can create a pizookie that will leave your friends and family raving. Happy baking!
Serving Suggestions for Pizookie
The beloved pizookie, a dreamy blend of cookie and pizza, is the perfect dessert to share with friends after a long week. Elevating this indulgent treat can turn a casual gathering into a memorable celebration.
Make it perfect for any occasion
To really wow your guests, consider these delicious serving suggestions:
-
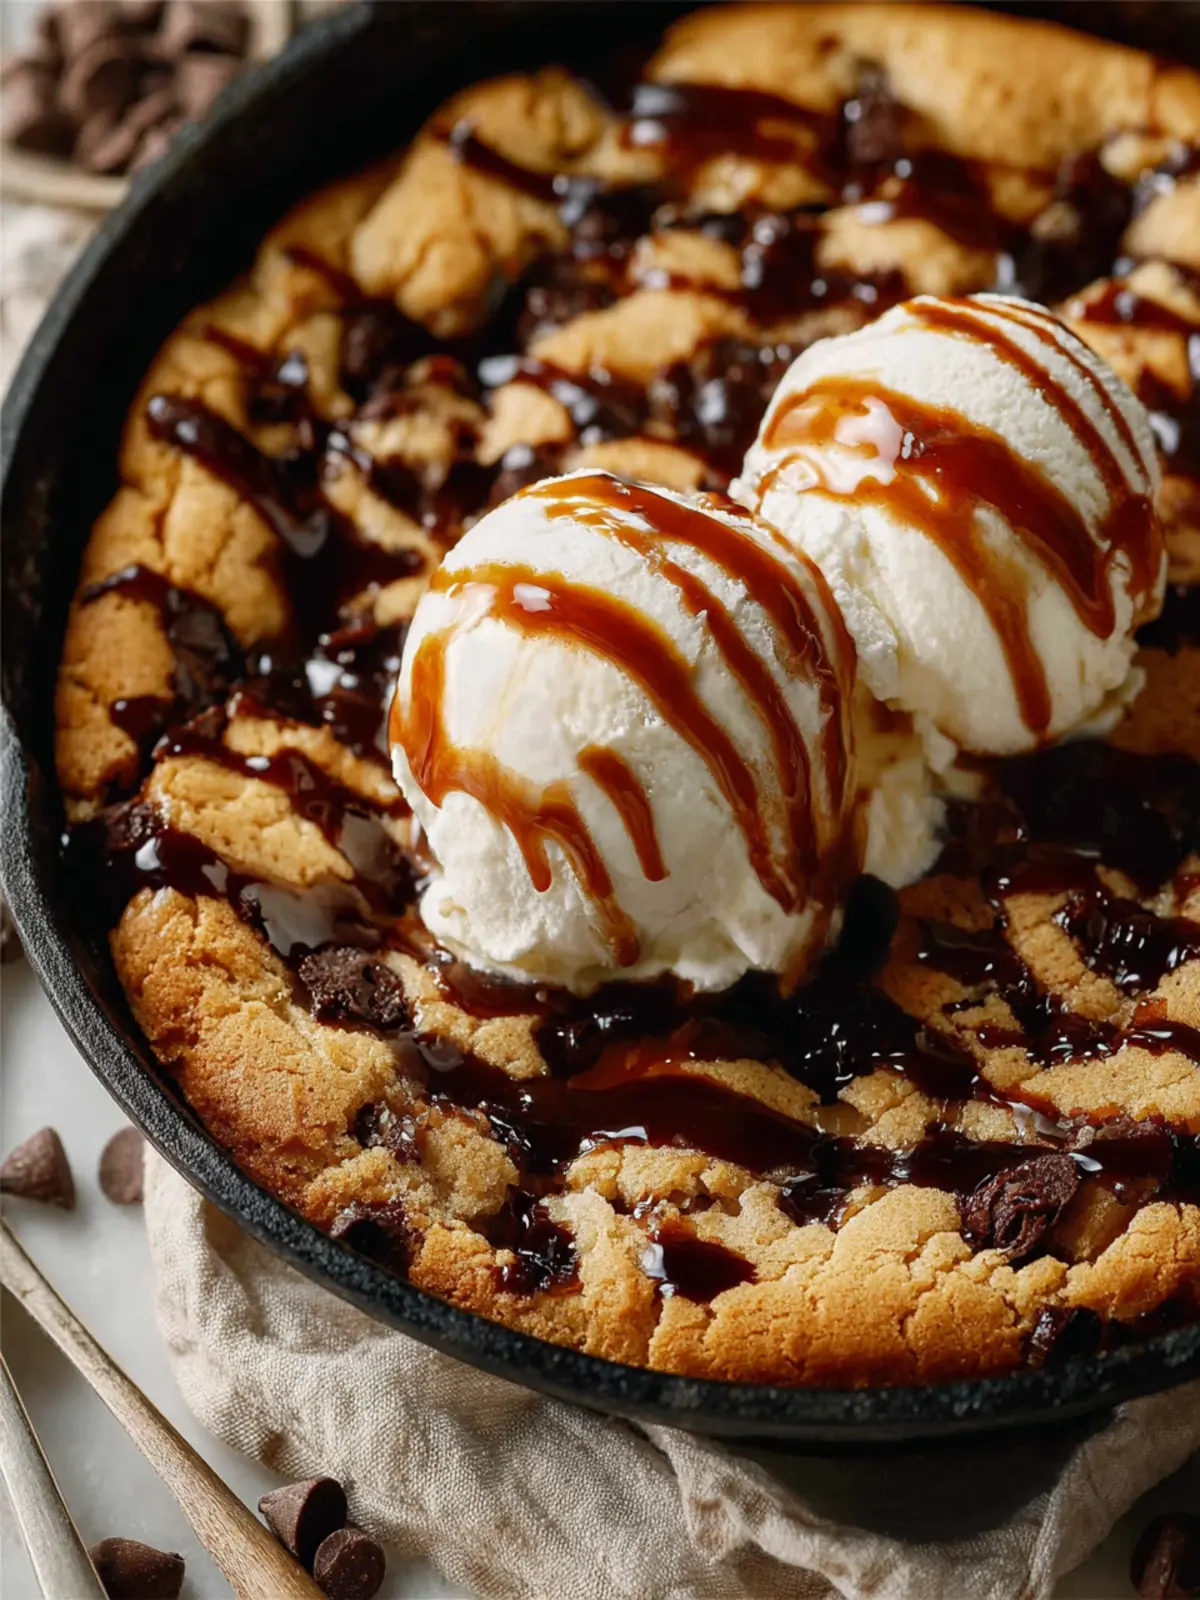
Ice Cream Pairing: A scoop of vanilla bean or cookies and cream ice cream on top of a warm pizookie brings a delightful temperature contrast, melting into the cookie and creating a gooey masterpiece.
-
Presentation Matters: Serve your pizookie in its cast-iron skillet, drizzled with chocolate or caramel sauce. Garnish with a sprinkle of sea salt for an elevated look and taste.
-
Flavor Variations: Customize your pizookie by mixing in or topping it with nuts, chocolate chips, or fruit. Think about adding a raspberry sauce drizzle for a fruity twist!
These thoughtful touches will not only enhance your dessert but also provide an experience that your friends will talk about long after they’ve indulged in this heavenly treat. Enjoy!
Time Breakdown for Pizookie
Creating a pizookie is an experience in itself, merging the joy of baking with the irresistible thrill of serving a warm, gooey dessert. Let’s break down the time you’ll need to indulge in this delightful treat!
Preparation time
Getting your ingredients in order and mixing everything together will take about 15 minutes. This is where the magic begins, as you blend flour, sugar, and chocolate chips into a cookie dough that’s simply heavenly.
Baking time
The real transformation happens in the oven, where your pizookie bakes for 20-25 minutes. You’ll want to keep an eye on it, as the edges turn golden brown while the center remains delectably soft.
Total time
In just about 35-40 minutes, you’ll have a freshly baked pizookie ready to impress family and friends. Trust me, the aroma alone will have everyone gathering in the kitchen!
Nutritional Facts for Pizookie
Ready to dive into the pizookie experience? This warm, gooey dessert is as indulgent as it is delicious. Whether you’re celebrating with friends or just treating yourself after a long day, it’s important to know what you’re indulging in. Here’s a quick breakdown of the nutritional facts:
Calories
A typical serving of pizookie clocks in at around 300-400 calories, depending on your choice of toppings and the portion size. It’s the perfect way to satisfy your sweet tooth!
Sugar
With approximately 20-30 grams of sugar per serving, this sweet treat does pack a sugary punch. If you’re mindful of your sugar intake, consider sharing or enjoying smaller portions.
Serving Size
The standard serving size for pizookie is about 1 cup, but it’s so rich and flavorful that you might find that’s more than enough! Pair it with a scoop of ice cream for an extra special treat.
Now that you have a clearer picture of the nutritional aspects, you can enjoy your pizookie guilt-free!
FAQ about Pizookie
Pizookie has a unique way of brightening up any gathering or even a quiet night in. A warm, gooey cookie that’s baked in a skillet and topped with ice cream—what’s not to love? To help you savor every bite, we’ve compiled some frequently asked questions about this delightful dessert.
Can I use a different type of chocolate?
Absolutely! While a classic Pizookie often features semi-sweet chocolate chips, feel free to mix things up. You can use dark chocolate for a richer flavor, or even white chocolate for a sweeter, creamier experience. Want to keep it fun? Try tossing in a combination of chocolate types, or throw in some peanut butter chips or butterscotch chips for an exciting twist!
How do I store leftover Pizookie?
Storing leftover Pizookie is simple! Allow it to cool completely, then cover it tightly with plastic wrap or foil, or transfer it to an airtight container. It can be stored in the refrigerator for up to three days. When you’re ready to enjoy it again, just reheat it in the oven at 350°F for about 10 minutes until it’s warm and gooey again—don’t forget the ice cream on top for that freshly baked taste!
Can I make the dough ahead of time?
Yes, making the dough ahead of time is a fantastic idea! Simply prepare the cookie dough according to the recipe and store it in an airtight container in the fridge for up to 72 hours. When you’re ready to bake, just scoop the dough into your prepared skillet and bake as directed. You’ll be just a few minutes away from a delicious Pizookie on demand!
Conclusion on Pizookie
Why this dessert deserves a spot in your recipe rotation
In the world of decadent desserts, the pizookie surely stands out. Imagine a warm, gooey cookie fresh out of the oven, paired with melting ice cream—what could be better?
This delightful dessert is not just quick and easy to make; it’s perfect for sharing after a cozy dinner with friends or family. Tailor it to your taste by switching up the toppings or flavors, making it versatile enough for any occasion. By adding pizookie to your repertoire, you’re inviting a unique treat that brings happiness and comfort to every gathering. Embrace the joy of this indulgent dessert, and make it a regular in your culinary adventures!
Print
Skillet Chocolate Chip Cookie
- Total Time: 20 minutes
- Yield: 6 servings 1x
- Diet: Vegetarian
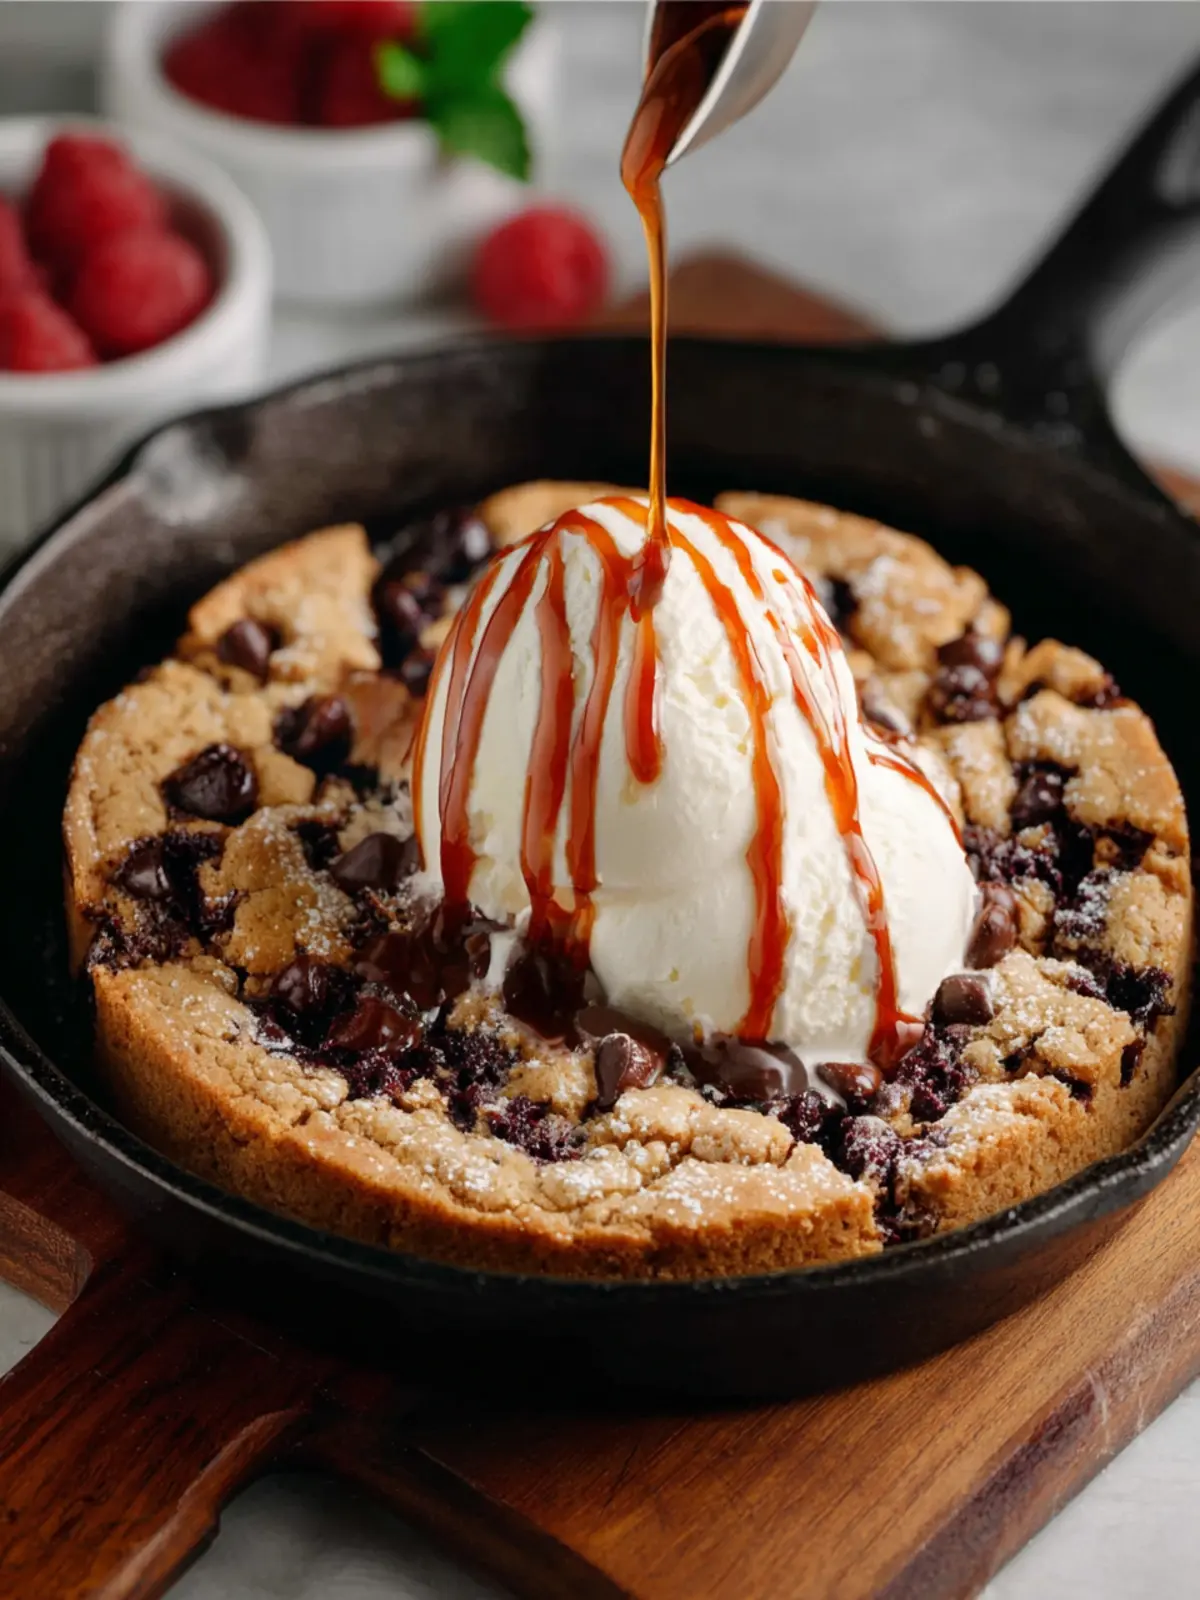
Description
A delicious gooey chocolate chip cookie baked in a skillet and topped with ice cream and chocolate sauce.
Ingredients
Scale
- ½ cup butter (unsalted, softened)
- ⅓ cup granulated sugar
- ⅓ cup packed brown sugar
- ½ Tablespoon vanilla extract
- 1 large egg
- 1 ⅔ cups all-purpose flour
- ½ teaspoon baking soda
- ½ teaspoon salt
- 1 cup milk chocolate chips
- 4 scoops chocolate chip ice cream
- chocolate sauce for topping
Instructions
- Preheat oven to 350℉.
- In a medium bowl, mix together butter and sugars until combined. Add in vanilla and egg.
- Slowly stir in the flour, baking soda and salt, then fold in chocolate chips.
- Press the cookie dough mixture into the bottom of an 8inch cast iron skillet.
- Bake for 8-10 minutes (it will be gooey and under done).
- Pull out of the oven and top with ice cream, then drizzle with chocolate sauce.
- Serve while still warm (and before the ice cream melts!).
Notes
- Adjust baking time for desired gooeyness.
- Use a variety of chocolate chips or add nuts for extra flavor.
- Prep Time: 10 minutes
- Cook Time: 10 minutes
- Category: Dessert
- Method: Baking
- Cuisine: American
Nutrition
- Serving Size: 1 slice
- Calories: 360
- Sugar: 24g
- Sodium: 150mg
- Fat: 18g
- Saturated Fat: 11g
- Unsaturated Fat: 5g
- Trans Fat: 0g
- Carbohydrates: 45g
- Fiber: 1g
- Protein: 4g
- Cholesterol: 45mg