Follow Me On Social Media!

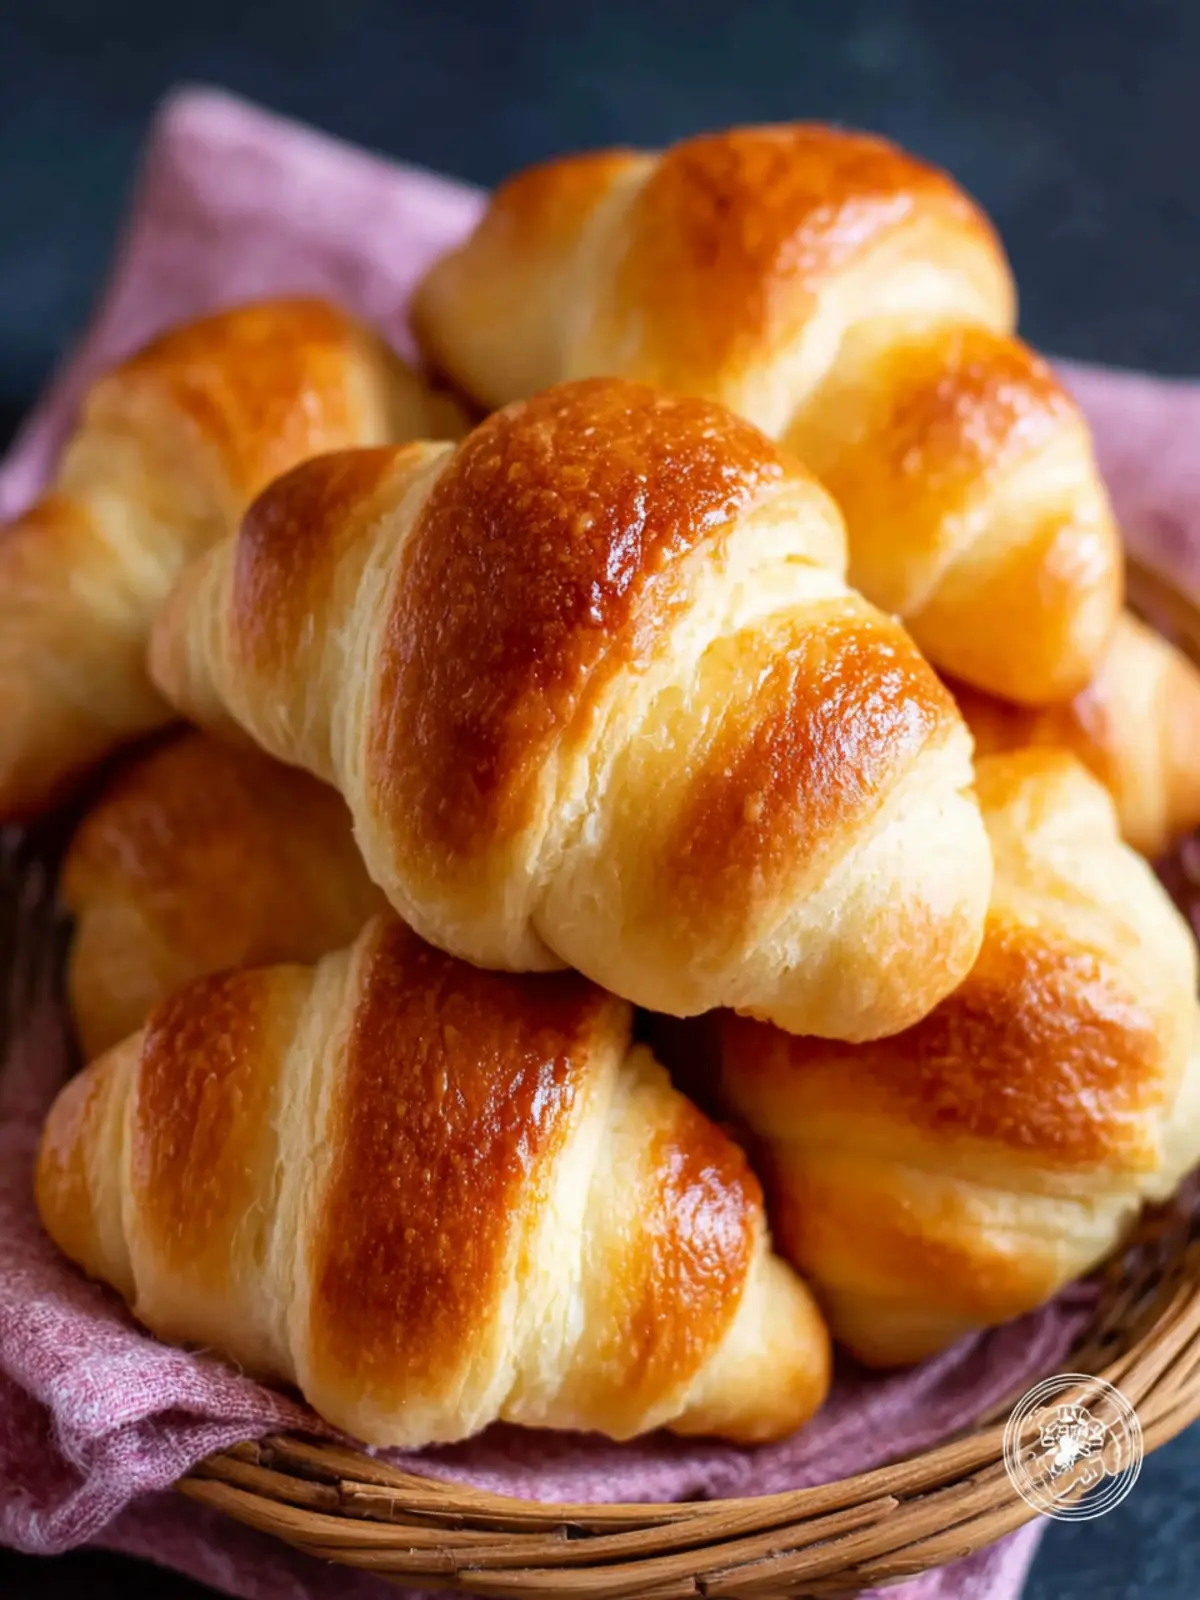
Homemade Crescent Rolls: Effortlessly Flaky and Irresistible!
Introduction to Homemade Crescent Rolls
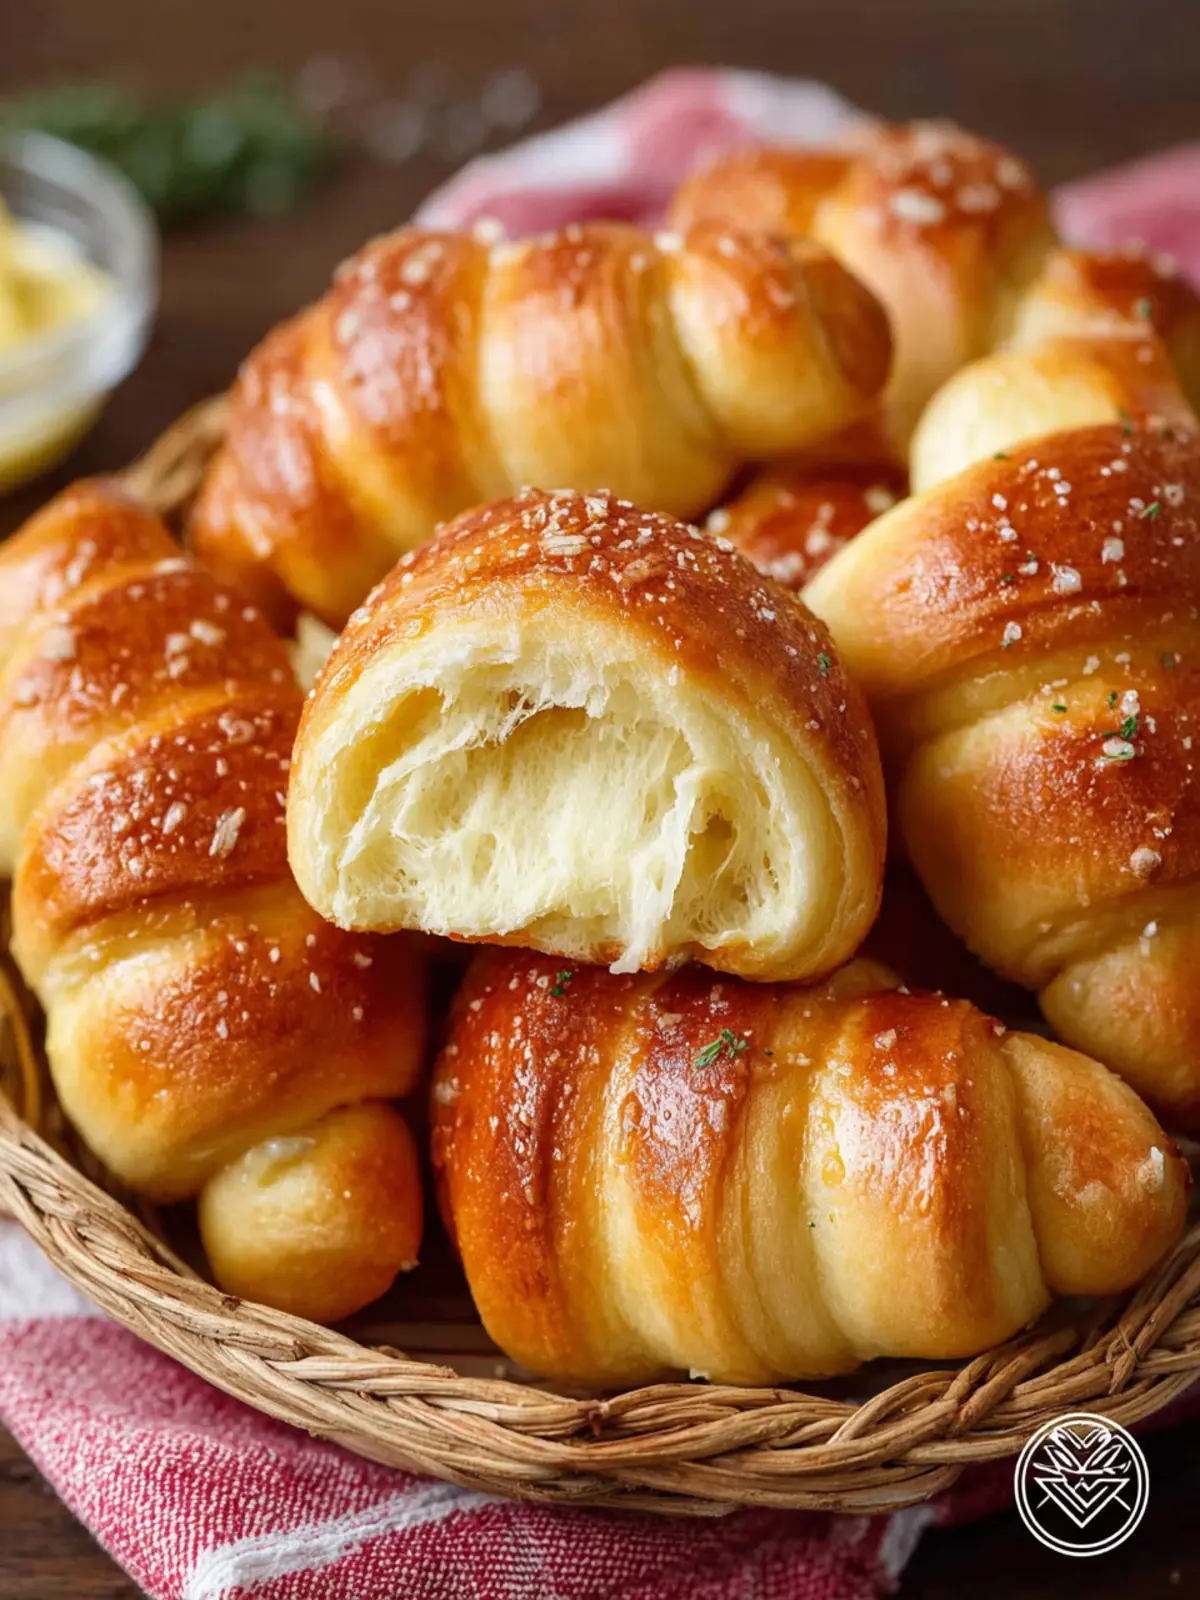
The warm aroma of freshly baked homemade crescent rolls wafting through the kitchen can transport anyone back to childhood memories of family gatherings and holiday feasts. Picture this: a cozy afternoon, laughter echoing as you knead dough that will soon transform into golden, flaky rolls. It’s a process that makes your soul feel as nourished as your body.
What makes homemade crescent rolls so special? It’s all about the love and attention you pour into each fold and rise. The difference between store-bought and homemade is palpable: the buttery layers that melt in your mouth, the slight crunch on the outside, and the soft, pillowy interior all come together for a perfect bite. Each roll is a labor of love, crafted with ingredients that speak to your palate and heart.
Imagine pulling these rolls from the oven, their surfaces glistening with melted butter—a sight that’s almost too beautiful to eat. Not to mention, the satisfaction of serving them to friends and family, creating an atmosphere of warmth and pleasure. These rolls are not just a side dish; they are the centerpiece of cherished moments shared around the table.
The joy of making homemade crescent rolls lies in the simple ingredients that elevate an everyday meal into something extraordinary. Whether it’s a Sunday brunch or a holiday feast, these rolls are the perfect companion. Meanwhile, the dough provides an outlet for creativity: will you add herbs for a savory twist, or maybe some cheese for a gooey surprise? You control the outcome, which is part of the magic.
As you embark on this culinary adventure, remember this: every great baker started where you are now, and with practice, you will master the art of making homemade crescent rolls. Let’s roll up our sleeves and dive into the art of creating these delightful rolls that will surely evoke nostalgia and bring smiles to the faces of those you love.
Key Ingredients for Homemade Crescent Rolls
Creating homemade crescent rolls is a delightful journey, where simple ingredients transform into a magical treat. Let’s explore the essential components that bring these flaky, buttery rolls to life.
Flour: I use all-purpose flour as the foundation for these rolls. It provides the perfect balance of structure and tenderness. If you happen to need a gluten-free option, feel free to swap it with a gluten-free flour blend that’s designed for baking.
Yeast: Fresh active dry yeast is crucial for that airy texture. I prefer to activate it in warm milk, which not only wakes the yeast up but also adds a hint of richness to the dough.
Butter: Rich, unsalted butter is your best friend here. By incorporating it both into the dough and layering it for the roll, you’ll achieve that desired flaky texture. Don’t skimp—this is where the magic happens!
Sugar: A touch of granulated sugar not only sweetens the rolls slightly but also helps feed the yeast, giving you the fluffiest rolls imaginable.
Salt: This ingredient is often overlooked, but it plays a key role in enhancing flavor and controlling yeast activity.
Milk: Warm milk adds moisture and richness to the dough, contributing to that soft interior we all love.
Harness these ingredients, and you’ll be on your way to enjoying freshly baked homemade crescent rolls that will impress family and friends alike!
Why You’ll Love These Homemade Crescent Rolls
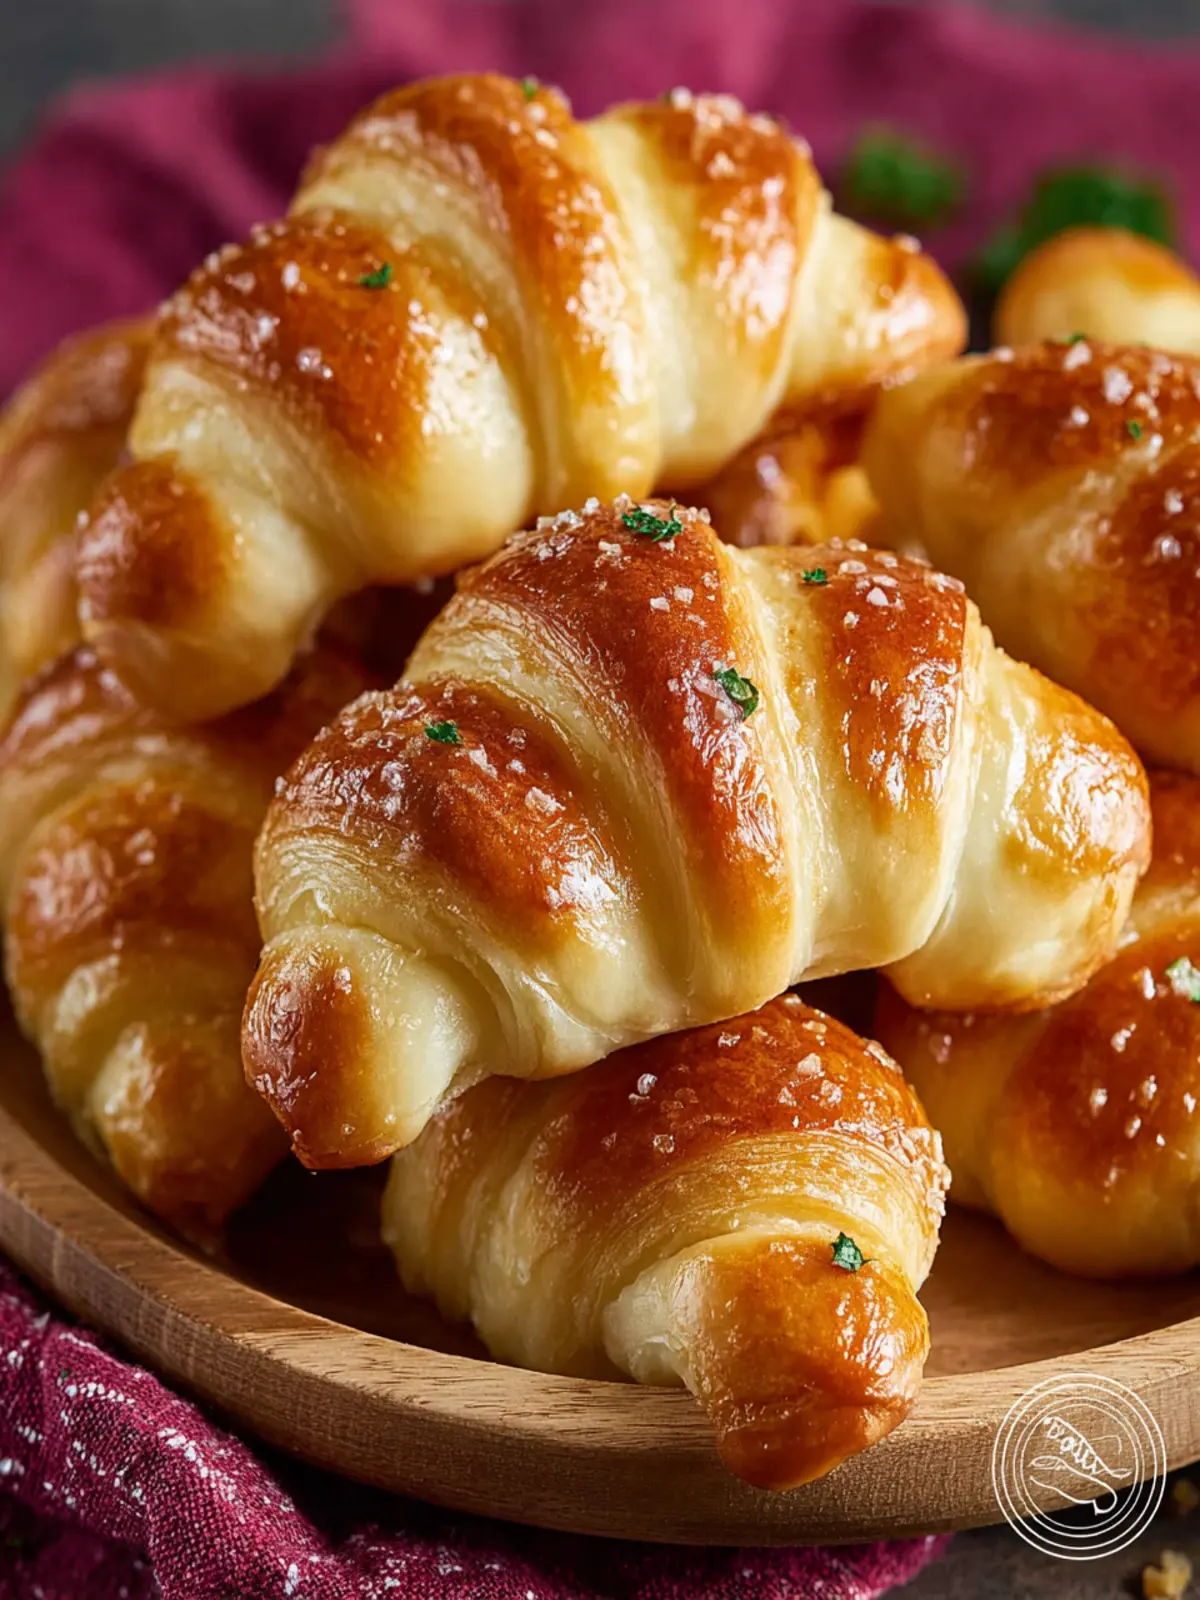
Homemade crescent rolls have a way of transforming any meal into a special occasion. Imagine the aroma filling your kitchen as they bake to a golden perfection—who wouldn’t be drawn in? These delightfully flaky rolls are not just a side dish; they’re an experience that brings warmth, comfort, and a touch of nostalgia.
Flaky and Buttery Perfection
-
Versatile Nature: Whether served alongside a hearty soup, as a base for sliders, or even as dessert, homemade crescent rolls adapt beautifully to any meal. Their versatility is unmatched.
-
Simple Yet Satisfying: The process of making these rolls may seem intricate, but it is surprisingly straightforward. With just a few key ingredients, the result is impressive. Watching guests eagerly pull apart the warm layers is a satisfaction you’ll cherish.
A Crowd-Pleaser
-
Perfect for Gatherings: There’s a reason these rolls are a hit at dinner parties and family gatherings—they invite conversation and connection. Everyone loves the warm, buttery experience of fresh bread.
-
Customizable Shelf Life: These rolls freeze beautifully, making them perfect for prep ahead of time. Freeze the unbaked rolls, and you’ll have fresh homemade crescent rolls any time you need them.
In short, homemade crescent rolls are not only delicious but also foster a sense of community, making every bite a reason to celebrate!
Cooking Tips and Notes for Homemade Crescent Rolls
Creating homemade crescent rolls is not just about following a recipe; it’s a delightful journey into the world of baking. Imagine the warm, buttery scent wafting through your kitchen as these rolls rise to perfection. Here are some helpful tips to make your baking adventure even better.
Use Quality Ingredients
Using high-quality ingredients is essential. Opt for real butter over margarine for a richer flavor. Fresh yeast will give you that light, airy texture. If you can, pick up the best all-purpose flour available — it makes a difference!
Knead Carefully
When mixing the dough, take your time while kneading. Aim for a smooth, elastic texture, as it develops gluten and ensures those delightful layers in your crescent rolls. Don’t rush this step; kneading for about 8-10 minutes yields love-filled results.
Allow for Rising
Patience is key when it comes to allowing your dough to rise. A warm, draft-free environment will help it double in size. Cover it with a damp towel, and don’t be afraid to give it a little extra time if needed!
Shaping the Rolls
When rolling out your dough, keep an even thickness to ensure uniform cooking. Remember, each triangle you cut from the dough should be rolled tightly from the wide end to the point for that classic crescent shape.
Experiment with Fillings
Don’t hesitate to get creative with your fillings! From cheesy goodness to savory herbs, your homemade crescent rolls are a blank canvas begging for personalization.
By following these tips, you’ll find that making homemade crescent rolls is not just easy but incredibly rewarding. Happy baking!
Serving Suggestions for Homemade Crescent Rolls
Indulging in homemade crescent rolls is a delightful experience, but the journey doesn’t end once they’re out of the oven. Imagine gathering with friends, fresh rolls in hand, as you explore delightful ways to elevate this classic treat. Here are some serving suggestions sure to impress your guests.
Perfect Pairings
-
Butter and Jam: A simple spread of butter, perhaps flavored with herbs or garlic, can take your rolls to the next level. Add a dollop of your favorite fruit jam for a sweet contrast.
-
Savory Fillings: Try filling your crescent rolls with cheeses, meats, or veggies before baking. A mix of sharp cheddar and crumbled bacon creates a delicious savory bite!
-
Soup Sidekick: Serve your freshly baked crescent rolls alongside a warm bowl of soup. The buttery flakiness complements everything from hearty chili to creamy tomato soup.
Special Occasions
-
Breakfast Treat: Slice your rolls and fill them with scrambled eggs and cheese for a delicious breakfast sandwich.
-
Holiday Feast: These rolls make a great addition to holiday tables. Stuff them with cranberries and cream cheese for a festive touch.
With these simple suggestions, your homemade crescent rolls will become the star of any meal. Enjoy every bite!
Time Breakdown for Homemade Crescent Rolls
Making homemade crescent rolls is a delightful journey, perfectly merging the science of baking with the art of patience. Here’s a handy breakdown to help you navigate the process, ensuring that your crescent rolls turn out soft and flaky every time.
Preparation Time
Your adventure begins with about 15–20 minutes of preparation. This is when you’ll mix your ingredients, knead the dough, and get everything ready for rise hour.
Rising Time
Patience pays off as the dough needs to rise for approximately 1 to 2 hours. This is a crucial step for achieving that light, airy texture.
Baking Time
Once your rolls have risen, they’ll need about 12–15 minutes in the oven. Keep an eye on them as they transform into golden-brown puffs of deliciousness!
Total Time
Altogether, you’re looking at around 2 hours and 30 minutes from start to finish—most of which is hands-off, allowing you to relax before enjoying your homemade crescent rolls.
Nutritional Facts for Homemade Crescent Rolls
When you take the time to create homemade crescent rolls, you’re not just indulging in delightful flavors; you’re also crafting a treat that has its own nutritional profile. Understanding what goes into these rolls can help you enjoy them even more.
Calories
Each homemade crescent roll typically contains around 150 calories. It’s a satisfying treat that balances enjoyment with moderation.
Carbohydrates
These rolls are heartily made, featuring approximately 20 grams of carbohydrates per roll. This makes them great for pairing with your favorite meals without overwhelming your carb intake.
Protein
In terms of protein, you can expect to find about 3 grams per roll. While they aren’t a protein powerhouse, they do contribute to your daily intake, especially when enjoyed alongside other protein-rich dishes.
FAQs about Homemade Crescent Rolls
When crafting homemade crescent rolls, your kitchen fills with the irresistible aroma of fresh-baked goodness, promising a delicious treat for family gatherings or cozy nights in. As you embark on this delightful baking journey, you may have a few questions. Here are some common queries about making these delectable rolls.
Can I make these rolls ahead of time?
Absolutely! You can prepare the dough ahead of time. After kneading, let it rise until doubled in size, then punch it down. Portion the dough into shapes, place them on a baking sheet, and cover with plastic wrap. You can refrigerate the shaped rolls for up to 24 hours before baking. Just remember to let them come to room temperature and rise for about 30 minutes before popping them in the oven for that fresh-baked taste.
How can I freeze homemade crescent rolls?
Freezing homemade crescent rolls is a fantastic way to enjoy them later. Once your rolls are shaped, you can freeze them before proofing. Lay them on a baking sheet lined with parchment paper and flash freeze until firm. Then, transfer them to airtight freezer bags. When you’re ready to enjoy, simply thaw in the refrigerator overnight and then let them rise at room temperature before baking.
What are some ways to enhance the flavor of these rolls?
Enhancing the flavor of homemade crescent rolls can take your baking to the next level. Consider adding a pinch of garlic powder or herbs like rosemary or thyme to the dough for an aromatic twist. For a touch of sweetness, incorporate a bit of honey or cinnamon into the filling. Brushing the baked rolls with melted butter or a mixture of garlic and parsley will also add that extra layer of deliciousness. Experimenting with flavors makes baking even more satisfying!
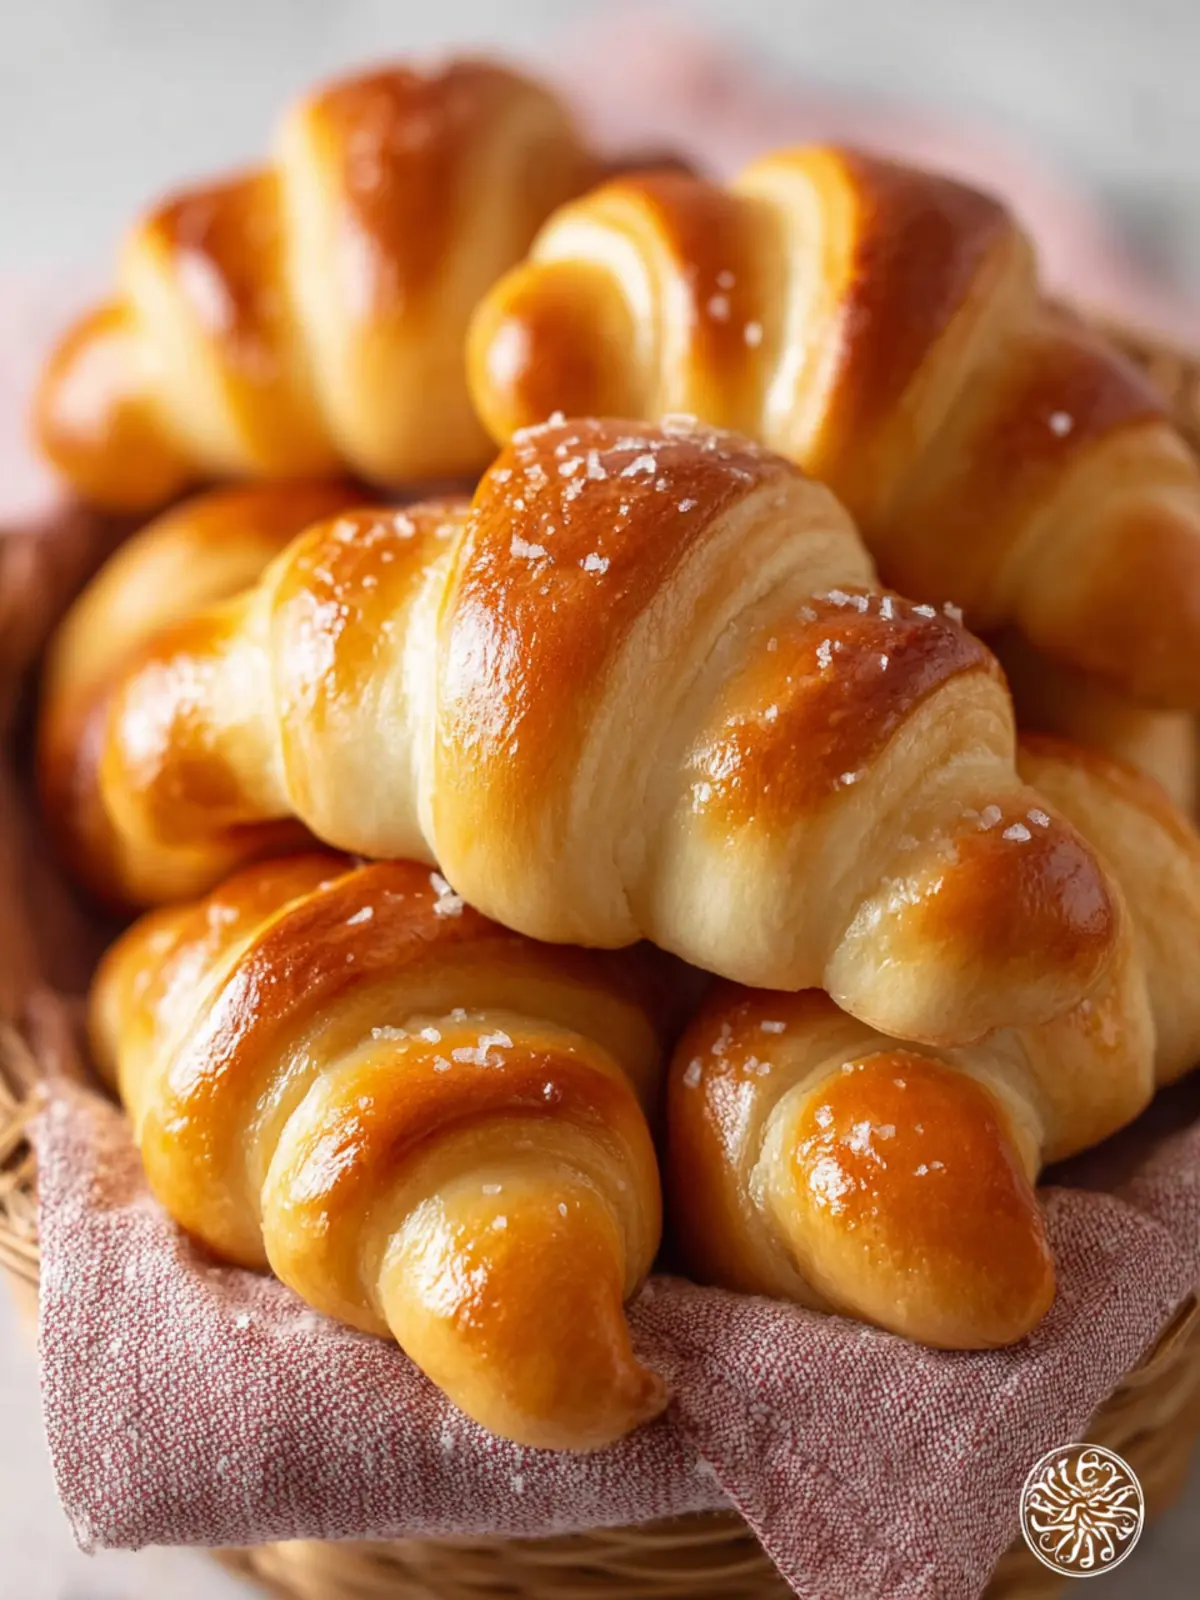
Conclusion on Homemade Crescent Rolls
In the delightful world of baking, homemade crescent rolls hold a special place, transforming any meal into a warm occasion. The joy that comes from the smell of butter and freshly baked dough wafting through your kitchen is unmatched. Whether enjoyed alongside dinner, at breakfast with jam, or as a snack, their flaky texture and rich flavors make them a family favorite. Plus, the satisfaction of crafting these rolls from scratch can be a proud moment for anyone. So, roll up those sleeves and give this recipe a try to add a touch of homemade goodness to your table. Happy baking!
Print
Crescent Rolls
- Total Time: 1 hour 30 minutes
- Yield: 24 rolls 1x
- Diet: Vegetarian
Description
Delicious homemade crescent rolls that are soft, buttery, and perfect for any meal.
Ingredients
Scale
- 1 teaspoon instant yeast
- 1 cup warm milk (110–115°F (43–46°C))
- 1 tablespoon granulated sugar
- 3 ½ cups all-purpose flour
- 1 ½ teaspoons table salt
- 1 large egg
- 4 tablespoons unsalted butter, softened
- 1 egg (beaten with 1 teaspoon water or milk (for egg wash, optional))
Instructions
- In a large bowl, combine the yeast, warm milk, sugar, flour, salt, and egg. Mix and knead until a soft dough forms.
- Add the softened butter and continue kneading until smooth and elastic, about 6 to 8 minutes.
- Place the dough in a greased bowl.
- Cover with plastic wrap or a damp towel, and let rise in a warm spot until doubled in size, about 1 hour.
- Punch down the dough and divide into 2 equal portions. Roll each into a 12-inch (30 cm) circle.
- Cut each circle into 12 wedges using a pizza cutter or a sharp knife. Roll each wedge up from the wide end to the tip to form a crescent shape.
- Arrange rolls on a parchment-lined baking sheet, cover lightly, and let rise while preheating the oven.
- Preheat the oven to 375°F (190°C). Brush with egg wash if desired.
- Bake for 12 minutes, or until golden brown. Cool slightly before serving.
Notes
- These rolls are best served warm.
- Feel free to add herbs or cheese to the dough for extra flavor.
- Prep Time: 15 minutes
- Cook Time: 12 minutes
- Category: Breads
- Method: Baking
- Cuisine: American
Nutrition
- Serving Size: 1 roll
- Calories: 150
- Sugar: 1g
- Sodium: 200mg
- Fat: 7g
- Saturated Fat: 4g
- Unsaturated Fat: 2g
- Trans Fat: 0g
- Carbohydrates: 20g
- Fiber: 1g
- Protein: 3g
- Cholesterol: 30mg